Installation
Installation steps for react-native-yubikit
0. Prepare
Due to involving another device for development: The physical Yubikey, you may want to enable remote debugging on Android and iOS.
On Android
- Enable Developer mode (of course).
- Go to Developer Options -> Wireless debugging
- Turn on the Wireless debugging switch
- Now you can either Pair with pairing code or QR code
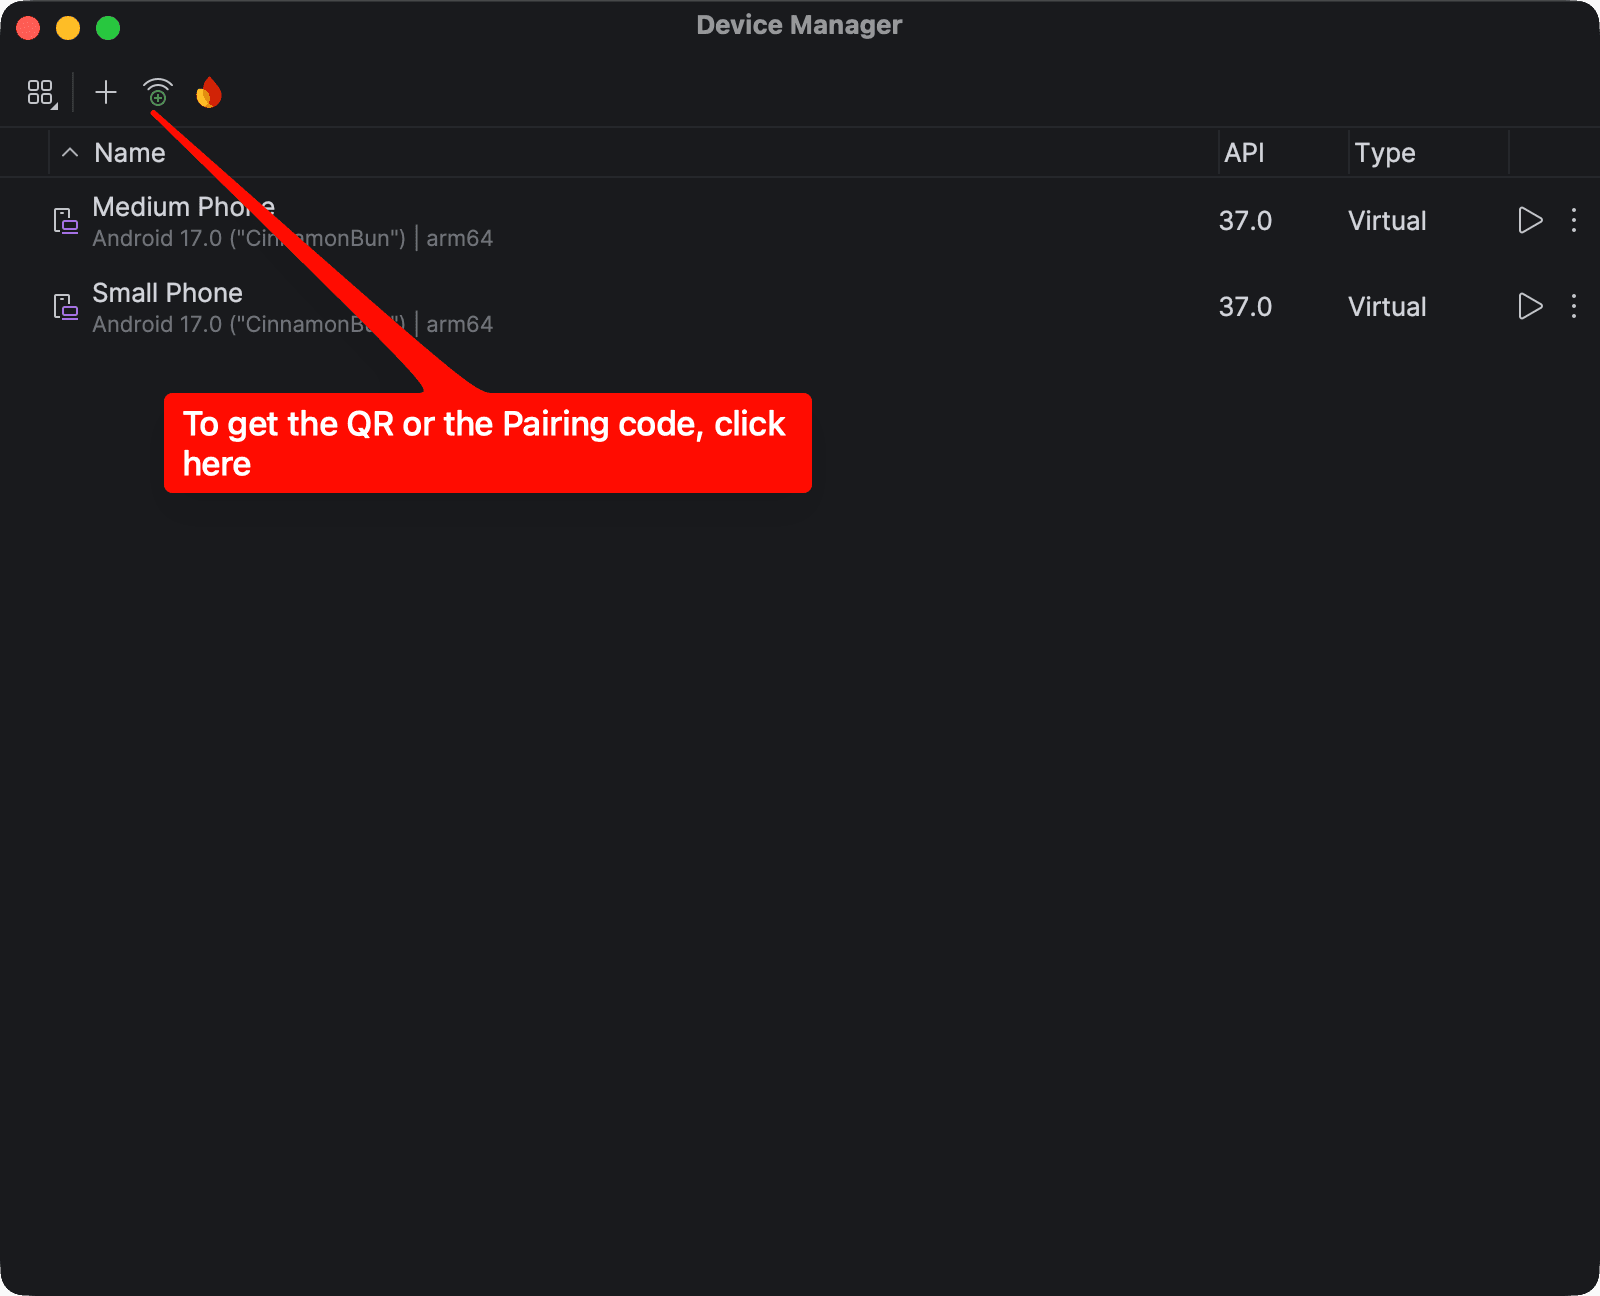
- Open Android Studio, then open Device Manager, click the icon to show the QR code
On iOS
- Launch Xcode
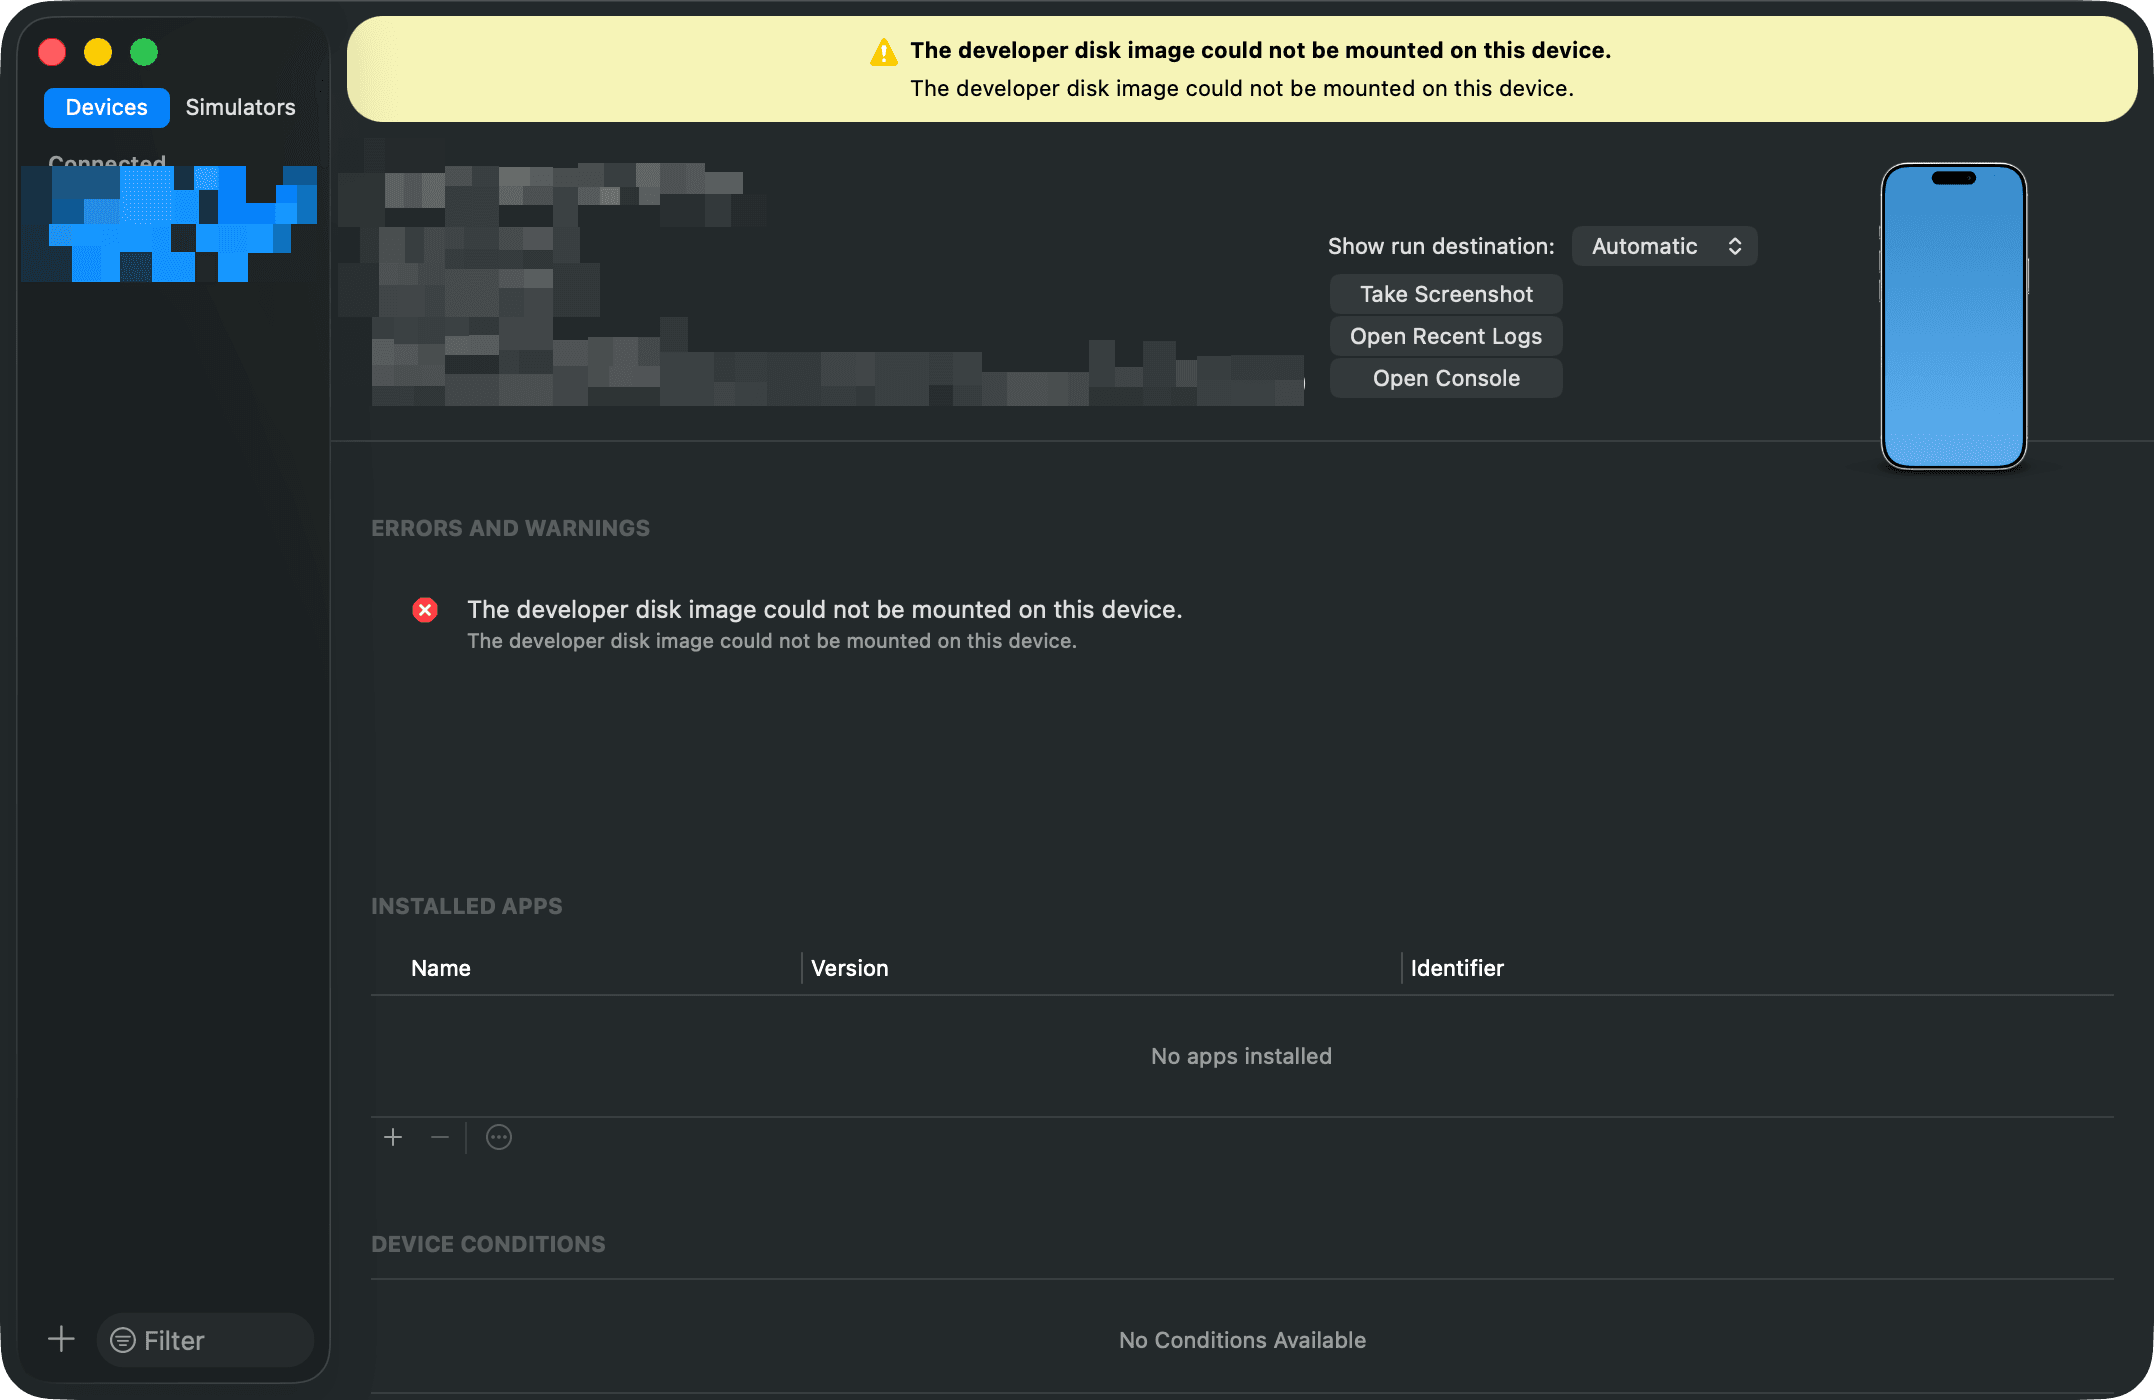
- Window -> Devices and Simulators
- Choose Devices tab and connect your phone
- Proceed to set your phone as a valid debugging device
1. Install the package
npm install @doko/react-native-yubikit
# or
yarn add @doko/react-native-yubikit
The published package name is scoped: @doko/react-native-yubikit. Import from that name, not from react-native-yubikit unscoped (an unscoped import only resolves inside this library's own monorepo/example app via workspace linking - it will not resolve in your app).
2. Make sure the New Architecture is enabled
This library ships only as TurboModules - there's no bridge fallback.
- Android:
newArchEnabled=trueinandroid/gradle.properties. - iOS: Fabric/TurboModules enabled in your Podfile (the default for a New-Architecture RN 0.74+ project).
3. iOS setup
3.1 Override the YubiKit pod version
The CocoaPods-trunk YubiKit pod is older (4.4.0) than what this library requires (4.7.0+). Add an explicit git-based override to your ios/Podfile, before running pod install:
target 'YourApp' do
  # ... existing config ...

  pod 'YubiKit', :git => 'https://github.com/Yubico/yubikit-ios.git', :tag => '4.7.0'

  # ... use_native_modules!, etc ...
end
If you're using Expo with config plugins, you can automate this override with a plugin that patches the generated Podfile after prebuild - that's exactly what this library's own example app does internally. Without this override, pod install will silently resolve the older 4.4.0 SDK and the native build will fail to compile against APIs this library needs (PIV slot/bio metadata, key deletion, FIDO2 minPinLength, Management.deviceReset, etc).
3.2 Install pods
cd ios
pod install
cd ..
3.3 Set the deployment target
Use iOS 16.4+ if you want USB-C "smart card" connections to work (YKFSmartCardConnection requires iOS 16+). Lightning/MFi accessory connections work on older iOS.
3.4 Enable Custom Lightning Protocol (required for YubiKey 5Ci over Lightning)
The YubiKey 5Ci is an MFi external accessory that communicates over iAP2. Add com.yubico.ylp under Supported external accessory protocols in Info.plist:
<key>UISupportedExternalAccessoryProtocols</key>
<array>
  <string>com.yubico.ylp</string>
</array>
Skip this if you don't need to support the 5Ci over Lightning - it isn't required for USB-C or NFC connections.
3.5 Enable TKSmartCard support (required for USB-C on iOS 16+)
To support YubiKeys connected via USB-C on iOS 16+, add the com.apple.security.smartcard entitlement to your app target (Signing & Capabilities → + Capability → "Smart Card"). This connection only supports smart-card-based applications on the key (OATH, PIV, OpenPGP on Android-paired flows, etc.) - not U2F, FIDO2, or OTP over that transport.
Neither this entitlement nor the Lightning protocol string is added automatically by the library or its podspec, and the library's own example app doesn't configure either of them - you have to add both yourself in your app target if you need Lightning or USB-C support.
3.6 Grant access to NFC (manual - not automated by the library)
If you want NFC discovery, add to Info.plist:
<key>NFCReaderUsageDescription</key>
<string>This app uses NFC to communicate with your YubiKey</string>
<key>com.apple.developer.nfc.readersession.formats</key>
<array>
  <string>TAG</string>
</array>
<key>com.apple.developer.nfc.readersession.iso7816.select-identifiers</key>
<array>
  <string>A000000527471117</string> <!-- YubiKey Management Application AID -->
  <string>A0000006472F0001</string> <!-- FIDO/U2F AID -->
  <string>A0000005272101</string>   <!-- OATH AID -->
  <string>A000000308</string>       <!-- PIV AID -->
  <string>A000000527200101</string> <!-- YubiKey application/OTP AID (HMAC-SHA1 challenge-response) -->
  <string>A000000151000000</string> <!-- YubiKey Security Domain AID -->
</array>
And enable the "Near Field Communication Tag Reading" capability in Xcode (Signing & Capabilities → + Capability) - this adds com.apple.developer.nfc.readersession.formats to your entitlements automatically, but you still need to add the AID list and usage description yourself. The AID list tells iOS which applications on the YubiKey your app is allowed to select over NFC; omit an AID and NFC sessions targeting that application will fail to connect.
None of this - Lightning protocol, smart card entitlement, or NFC configuration - is added automatically by the library, its podspec, or its own example app. You have to configure all three yourself in your app target, based on which transports you actually need.
3.7 Camera access - not applicable
The upstream YubiKit iOS SDK has an optional camera permission for scanning QR-code OTPs. This library doesn't implement QR-code scanning at all (see the feature coverage table), so there's nothing to configure here - skip it.
4. Android setup
There's nothing to add manually. The library's own android/build.gradle already declares its YubiKit Android SDK 3.1.0 dependencies (picked up automatically through autolinking/Codegen), and its AndroidManifest.xml already declares:
<uses-feature android:name="android.hardware.usb.host" android:required="false" />
<uses-permission android:name="android.permission.NFC" />
Both merge into your app automatically. You just need your app's minSdkVersion to be 24+ and compileSdkVersion to be 36 (to match what the library compiles against) - you do not need to add NFC permissions yourself, and you should not add a USB_PERMISSION entry, since it isn't a real Android permission constant. USB host access on Android is granted at runtime through UsbManager's own permission-request flow (handled internally by the YubiKit Android SDK), not through a manifest declaration.
5. Verify the install
import { Core } from "@doko/react-native-yubikit";

// Start USB discovery and see if a listener fires when you plug something in
const subscription = Core.addYubiKeyListener((event) => {
  console.log("YubiKey event:", event);
});

Core.startUsbDiscovery({ handlePermissions: true });
Plug in (or NFC-tap) a YubiKey on a real device - the simulator/emulator cannot exercise USB or NFC. You should see an 'attached' event.